Sealless Pumps for a Safer and Greener World

Why Is My Water Cooler Evaporator Not Cooling? This question often begins with a warm bottle, weak airflow, or frost around the evaporator coil. The symptom is simple. The cause rarely is. A restricted air filter, blocked condenser, failed fan, incorrect refrigerant charge, or faulty thermostat can produce similar results. Water temperature, room temperature, coil condition, and compressor cycling should be checked before replacing parts.
The International Energy Agency’s The Future of Cooling report states that global cooling demand could more than triple by 2050. That trend increases the importance of maintaining compact refrigeration equipment efficiently. ASHRAE Handbook—Refrigeration, 2022, explains that evaporator performance depends on proper refrigerant flow, heat transfer, airflow, and defrost control. These principles also apply to many commercial and residential water coolers. The U.S. EPA’s GreenChill guidance identifies refrigerant leaks, dirty coils, and airflow restrictions as major causes of refrigeration inefficiency.
A practical inspection starts with the basics. Listen for the evaporator fan. Feel for steady airflow. Check whether ice covers the coil like a white blanket. Then inspect the condenser for dust, especially near a wall or cabinet panel. Do not guess. A sealed-system repair requires trained service personnel and suitable instruments. Some diagnoses remain uncertain without pressure, temperature, and electrical measurements. That is worth admitting. A careful technician records readings, compares them with manufacturer specifications, and separates a control fault from a refrigerant problem before recommending repairs.
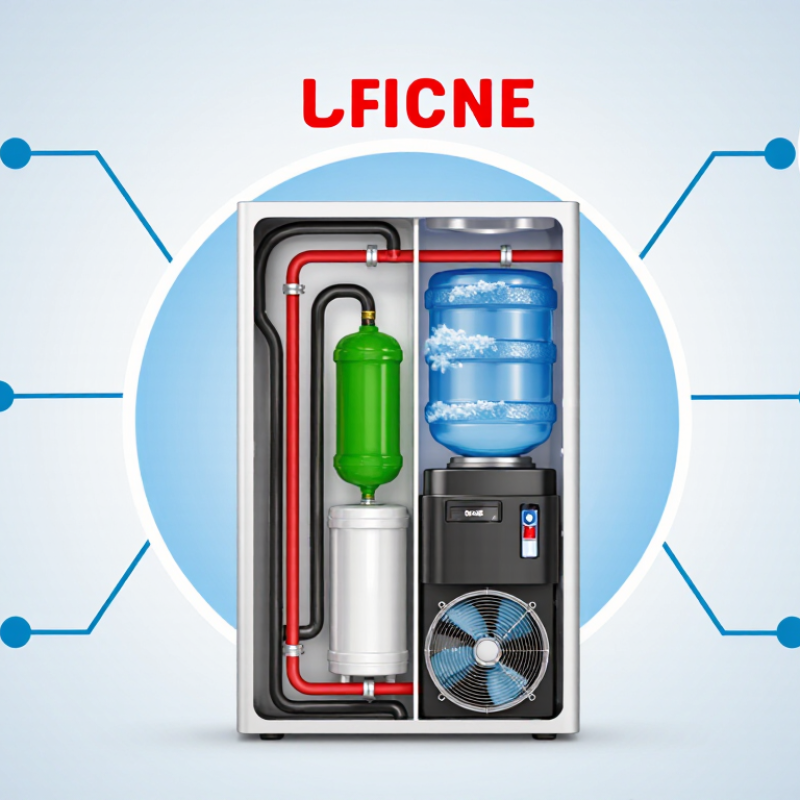
Before blaming the evaporator, verify the actual water temperature. Chilled water commonly falls within the 4–10°C range. Use a clean, accurate thermometer in a glass, not directly at the outlet. Dispense water for several seconds, then measure after the foam and flow settle. Take three readings across thirty minutes. A single reading can fool you.
My first reading was wrong once. I measured immediately after refilling the reservoir. The water had not reached its normal cooling period. Let the cooler rest for at least thirty minutes, especially after heavy use. If the temperature stays near 8°C, the cooling system may be working correctly. Water above 10°C after several hours suggests a problem with airflow, thermostat control, refrigerant circulation, or the evaporator itself. Room temperature also matters.
Tips: Record the water temperature, room temperature, waiting time, and usage pattern. Check whether warm air can leave the ventilation area. Dust around the condenser can reduce cooling performance. Never open the sealed refrigeration circuit without qualified training. If the compressor runs continuously but water remains warm, stop guessing and arrange a professional inspection. A thermometer reading is more useful than touching the water and calling it “cold.”
When a water cooler stops cooling, check airflow before suspecting the sealed refrigeration system. A blocked filter, dusty evaporator coil, or weak fan can reduce heat transfer. Turn the unit off before cleaning visible dust. Keep the coil fins straight and clear. A small flashlight helps reveal packed debris between the fins.
Measure the air-side temperature difference with a reliable thermometer. Let the cooler run for 10–15 minutes under normal conditions. Record the air temperature entering the evaporator, then measure the air leaving it. Subtract the leaving temperature from the entering temperature. A small difference may indicate poor refrigeration, excessive airflow, or inaccurate measurement. A very large difference can suggest restricted airflow or a coil beginning to frost. Do not rely on one reading. Room temperature and water demand can change the result.
Tips: Place the thermometer away from direct fan discharge. Check the filter, fan movement, and coil surface together. If ice appears, stop repeated testing and allow it to thaw. I have seen technicians blame the compressor too early, while a clogged coil caused the real problem. That assumption is easy to make. If airflow remains weak after cleaning, or temperatures stay abnormal, have a qualified technician inspect the fan motor, controls, and refrigerant circuit. Never open the sealed system without proper training and equipment.
A water cooler evaporator may be healthy while a faulty thermostat prevents proper cooling. In field checks, I measure the water temperature beside the sensing bulb. I use a calibrated probe, not the display alone.
Set the thermostat to a stable target, then allow the cooler to cycle twice. Compare the controller reading with the probe reading. The difference should remain within ±1°C for reliable control. This is a practical service target, not a universal legal limit. ASHRAE Handbook—Refrigeration emphasizes accurate sensing, correct bulb placement, and stable cycling. NIST guidance also stresses traceable calibration and documented measurement uncertainty.
Check thermostat resistance or control voltage with power isolated. Inspect loose terminals, damaged insulation, and moisture near the relay. Restore power only after completing safety checks. Watch the compressor contactor during startup. A delayed click, rapid cycling, or burnt terminal can imitate an evaporator fault. According to the U.S. Department of Energy, refrigeration systems can consume substantial commercial building electricity, so poor control increases operating waste. Small errors matter.
Do not trust one reading.
A practical weakness remains: room temperature, probe contact, and water movement affect the result. Record all three conditions. If the thermostat is accurate within ±1°C but the evaporator stays warm, test refrigerant flow, airflow, and compressor performance next. My earlier checks sometimes focused too quickly on refrigerant pressure. Electrical controls deserved attention first.
Test electrical controls by comparing the thermostat setpoint with the measured evaporator temperature. The control is considered accurate when the difference remains within ±1°C.
Interpretation: In this test, the measured evaporator temperature rises from −4.8°C to −4.0°C while the thermostat remains set at −5.0°C. The final 1.0°C difference reaches the upper accuracy limit, indicating that the thermostat and electrical controls should be inspected if cooling performance continues to decline.
When a water cooler evaporator stops cooling, check refrigerant performance before replacing parts. Measure suction pressure with a calibrated gauge, then convert it into saturation temperature using the correct refrigerant pressure-temperature chart. ASHRAE Handbook—Refrigeration (2022) emphasizes that pressure readings are meaningful only when matched with refrigerant type and temperature conditions.
Measure the suction-line temperature near the evaporator outlet. Subtract the calculated saturation temperature to obtain superheat. A practical field target is usually 5–12 K, but the equipment design remains decisive. Low superheat may indicate liquid returning to the compressor. High superheat can suggest undercharge, restricted flow, poor evaporator feeding, or excessive heat entering the cabinet. The numbers tell a story.
Check both readings after the cooler runs steadily for at least ten minutes. A pressure reading taken during startup can mislead you. The U.S. Department of Energy’s Commercial Refrigeration Equipment Technical Support Document (2020) identifies evaporator temperature, refrigerant flow, and compressor operation as major efficiency drivers. That supports treating pressure and superheat as connected evidence, not isolated figures. I have seen technicians add refrigerant too quickly, then create unstable superheat. That shortcut deserves reconsideration. Verify airflow, water temperature, filter condition, and sensor placement before charging. Record ambient temperature, suction pressure, line temperature, and superheat for comparison during the next service visit.
| Inspection Dimension | Normal Reference | Observed Reading or Symptom | Likely Condition | Recommended Diagnostic Action | Assessment |
|---|---|---|---|---|---|
| Evaporator outlet superheat | 5–12 K above the refrigerant saturation temperature | 5–12 K | Refrigerant is generally vaporized before leaving the evaporator, reducing the risk of liquid entering the compressor. | Confirm the temperature is measured on the suction line near the evaporator outlet and compare it with the saturation temperature calculated from the measured suction pressure. | Target Range |
| Evaporator outlet superheat | 5–12 K | Above 12 K | Possible undercharge, restricted metering device, blocked filter-drier, insufficient refrigerant flow, or low evaporator load. | Check for bubbles or restriction indicators where applicable, inspect the filter-drier and metering device, verify airflow or water flow, and confirm the refrigerant charge using the equipment specifications. | Investigate |
| Evaporator outlet superheat | 5–12 K | Below 5 K | Possible overfeeding, excessive refrigerant charge, faulty expansion control, poor heat transfer, or liquid floodback risk. | Check the expansion device, evaporator load, water temperature, and suction-line temperature. Do not add refrigerant solely because suction pressure appears low. | Floodback Risk |
| Suction pressure | Must be compared with the refrigerant’s pressure-temperature chart and the specified evaporating temperature. | Lower than the expected value | Possible low refrigerant charge, restricted refrigerant flow, inadequate water or air load, iced evaporator, or low ambient operating condition. | Record suction pressure and line temperature together. Check water flow, inlet water temperature, evaporator icing, filter-drier pressure drop, and the metering device. | Investigate |
| Suction pressure | Must match the required evaporating temperature for the application. | Higher than the expected value | Possible excessive heat load, overfeeding expansion device, compressor capacity problem, incorrect pressure measurement, or non-condensable gases elsewhere in the system. | Verify gauge accuracy, compressor operation, evaporator load, expansion-device control, and condenser performance before adjusting the charge. | Investigate |
| Discharge pressure | Within the system’s specified operating envelope and consistent with the outdoor or condenser entering-air temperature. | Higher than expected | Dirty condenser, blocked airflow, high entering-air temperature, excessive refrigerant charge, or non-condensable gases. | Clean the condenser coil, verify condenser-fan operation and airflow, check for obstructions, and compare subcooling with the manufacturer’s specification. | Investigate |
| Water-side temperature difference | Stable temperature drop across the evaporator under a steady water load; the exact value depends on design and flow rate. | Very small temperature drop | Insufficient refrigerant-side heat transfer, excessive water flow, poor evaporator contact, bypass flow, or inaccurate temperature measurement. | Measure water temperature at the inlet and outlet, verify flow rate and pump operation, check for bypassing, and inspect the evaporator heat-transfer surfaces. | Investigate |
| Water-side temperature difference | Stable temperature drop under the rated load. | Very large temperature drop or unstable outlet temperature | Low water flow, restricted strainer, air trapped in the circuit, frozen or partially iced evaporator, or control instability. | Check the pump, strainer, valves, piping air vents, water pressure, and evaporator for ice formation before continuing operation. | Flow Concern |
| Suction-line condition | Cool suction line with stable superheat and no liquid migration to the compressor. | Heavy sweating, frost extending toward the compressor, or unstable temperature | Low superheat, excessive refrigerant feed, poor expansion control, or inadequate evaporator load. | Check superheat at the evaporator outlet and compressor inlet, inspect the expansion device, and verify that the water circuit is providing the required heat load. | Check Immediately |
| Temperature and pressure measurement method | Pressure and temperature measured at stable operating conditions with calibrated instruments. | Readings fluctuate or do not agree | System has not reached steady state, sensors are incorrectly positioned, gauges are inaccurate, or the wrong refrigerant pressure-temperature relationship is being used. | Allow the system to stabilize, use the correct refrigerant pressure-temperature chart, secure the temperature probe to clean tubing, and record readings at the same time. | Verify Data |
| Refrigerant charge adjustment | Charge must follow the equipment specification or verified weighing procedure. | Adding refrigerant based only on low suction pressure | Risk of overcharging when the actual problem is a restriction, low water flow, icing, poor condenser performance, or incorrect measurement. | Repair airflow or water-flow problems first. Confirm leak condition, system design, superheat, subcooling, and operating pressures before charging. | Avoid Blind Charging |
A warm water cooler does not always mean low refrigerant. Frost on one evaporator section, weak airflow, or a dirty condenser can point to different faults. Check the fan, condenser surface, thermostat setting, and ice buildup with the power disconnected. Do not guess. A blocked drain or failed fan may look like a refrigerant problem.
If the system loses charge, EPA Section 608 rules become important in the United States. Only an appropriately certified technician should open the sealed refrigeration circuit, recover refrigerant, repair a leak, or recharge the unit. Intentional refrigerant venting is prohibited. The technician should use approved recovery equipment, identify the refrigerant, and document the service. Mixing refrigerants can damage the system and complicate future repairs.
Leak repair requirements can depend on the appliance type, refrigerant, and charge size. A careful technician will confirm these details before adding refrigerant. Simply topping up a cooler may hide a leak near a copper joint, filter-drier, or evaporator connection. I have seen small leaks dismissed because the cooler worked again for a week. That is not a real fix. Ask for a leak test, recovery record, repair details, and a final performance check. The evaporator should cool evenly, while the compressor and condenser fan operate within normal conditions.


